HUB User Manual
The fiskaly HUB gives you full insight into your fiskaly services. From here you can manage organizations and their users.
Your User Account
Section titled “Your User Account”To use the fiskaly HUB you need a separate account. You can create this account free of charge at hub.fiskaly.com.
Registration and First Login
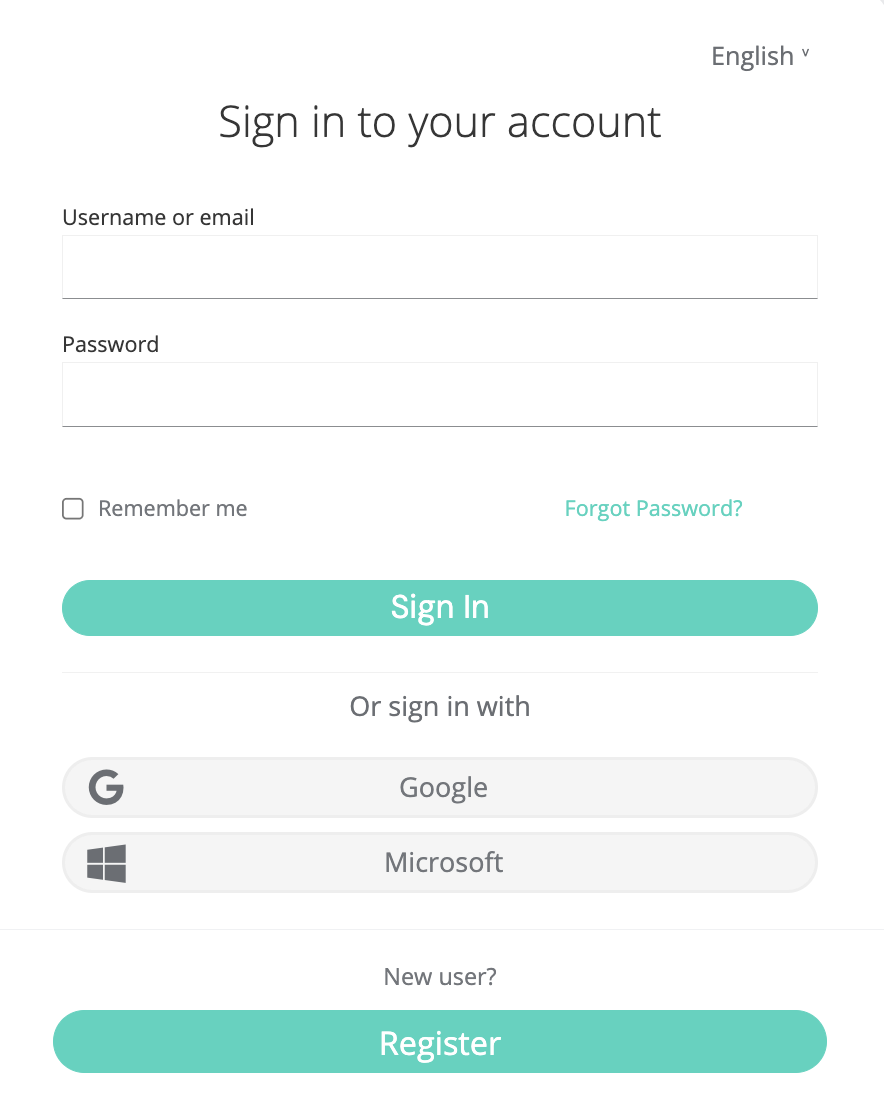
Section titled “Registration and First Login”Create your account
You can create a fiskaly account with your existing Google, LinkedIn, or Microsoft account. Alternatively, create a regular account with your email address by clicking on “Register”.
Activate your account
After completing the registration you will receive an activation email.
⚠️Time-sensitive linkThe activation link is only valid for 5 minutes!
Create or join an organization
If you have not already been invited to an organization, you will be prompted to create one. Creating an organization is free of charge.
If you only want to test the system, you can create a test organization at no additional cost. Fill in the name of the organization and the address fields.
Set billing address (optional)
You can define a billing address. By default, the address of the organization is stored for this purpose. If you do not want this, click “Leave billing address blank”.
Your user account remains free of charge. Only LIVE instances incur charges.
Finish setup
Click “Create” to finish. You have successfully created your first organization.
Regular Login
Section titled “Regular Login”If you have already created several organizations or been invited to existing ones, a selection list of all your organizations will appear after login. Otherwise your organization will be selected automatically.
Navigating HUB
Section titled “Navigating HUB”HUB is divided into several categories:
- SIGN DE API (KassenSichV) — TSS, Clients, Transactions, Exports
- User and Organization Administration — Settings and management
- Developer Resources — Reference and documentation
HUB Overview
Section titled “HUB Overview”Overview and insights of the products booked with fiskaly, as well as statistics on your usage.
Technical Security Systems (TSS)
Section titled “Technical Security Systems (TSS)”Listing of the TSS posted at fiskaly and their status. Click on the ID of the TSS to obtain further information. You can also trigger an export by clicking on the appropriate button at the end of the table.
The detail page of the TSS offers further information:
| Field | Description |
|---|---|
| TSS ID | Unique identifier |
| Description | The description text you have chosen |
| State | Current status of the TSS |
| Transaction Counter | Number of transactions processed |
| Signature Counter | Number of signatures generated |
| Certificate Serial No. | Certificate identifier |
| Creation Time | When the TSS was created |
| Init Time | When the TSS was initialized |
| Disable Time | When the TSS was disabled (if applicable) |
The detail page also provides lists of:
- Clients assigned to this TSS
- Transactions processed by this TSS
- Exports generated from this TSS
Clients
Section titled “Clients”This menu item provides a list of all clients, regardless of their TSS. Click on a client’s ID for further information and a list of transactions.
The client detail page includes:
| Field | Description |
|---|---|
| Client ID | Unique identifier |
| TSS ID | Associated TSS |
| Serial No. | Client serial number |
| Creation Time | When the client was registered |
A list of transactions for the client is also displayed.
Transactions
Section titled “Transactions”Under this menu item you will find a list of all transactions, independent of TSS and clients. Click on the transaction ID to access the transaction details.
The transaction detail page includes:
| Field | Description |
|---|---|
| Revisions | Switch between revisions if there are several |
| Type | Transaction type |
| Schema | Schema used |
| State | Current state |
| Start Time | When the transaction began |
| Transaction Number | Sequential number |
| Signature Counter | Signature counter value |
| TSS ID | Associated TSS |
| Client ID | Associated client |
| Transaction ID | Unique identifier |
| Signature Value | The cryptographic signature |
| Certificate Serial No. | Certificate identifier |
| Signed Data | The data that was signed |
| Payload | Transaction payload |
Exports
Section titled “Exports”Here you will find an overview of exports that are currently being created or are ready for download. In the download column you can download the exported data.
Organization Management
Section titled “Organization Management”This section is located under Settings > Organization Management.
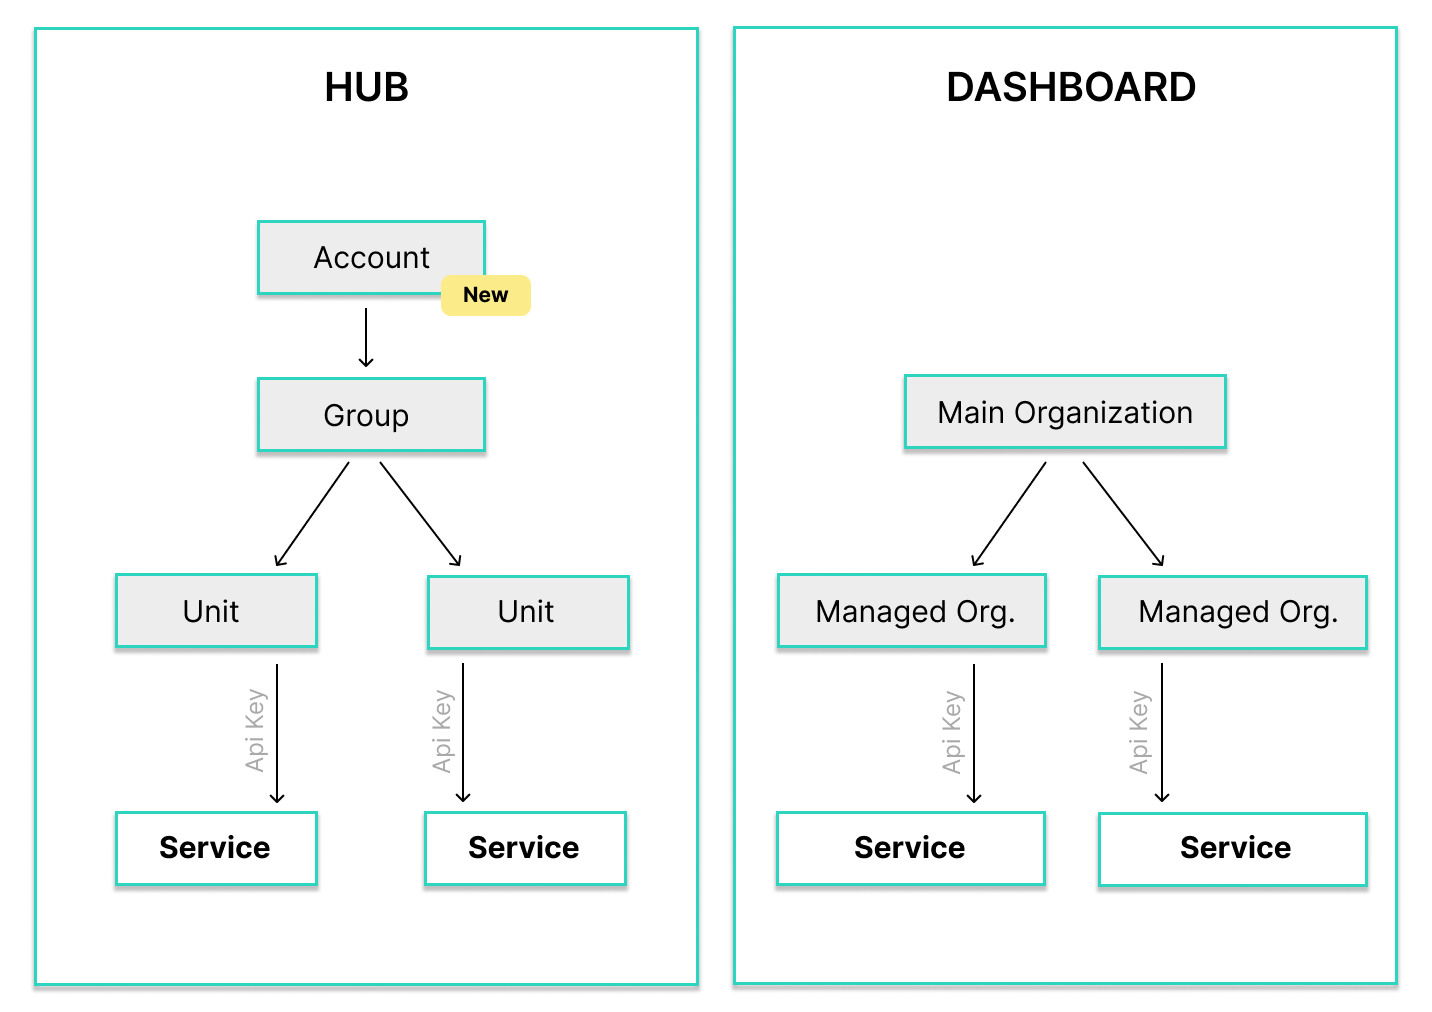
The organization is a unit which usually represents a business or branch office. How you map your business structure is up to you.
fiskaly distinguishes between two types of organizations:
| Type | Description |
|---|---|
| Main Organization | Independent organization, cannot be a sub-organization |
| Managed Organization | Dependent on a main organization, marked with a managed badge. Cannot contain other managed organizations. |
Creating an Organization
Section titled “Creating an Organization”Creating organizations is free. Both main and managed organizations can be created via HUB.
When creating an organization from the LIVE environment, it will be available in both the LIVE and TEST environments.
However, if you are in the TEST environment, the organization will only be available in TEST.
Open the organization dropdown
Click on your current organization in the upper left area. A dropdown appears with a link at the bottom to “Create new organization”.
Fill in required fields
Fill in at least the required fields in the first and second dialog boxes.
Complete creation
Click “Create” or “Leave billing address blank”. The newly created organization is automatically selected for you.
Switching Organizations
Section titled “Switching Organizations”Open the dropdown
Click on your currently selected organization in the upper left area.
Search (if needed)
If you are authorized for more than five organizations, a search field appears.
Select the organization
Click on the organization you want to select.
Viewing Organization Information
Section titled “Viewing Organization Information”For support purposes, it may be helpful to view more information about your organization by clicking the i icon to the right of the selected organization in the upper left area.
You will see the organization ID, name, and address.
Switching to LIVE Mode
Section titled “Switching to LIVE Mode”By default, all units created on fiskaly are in TEST mode unless LIVE mode has already been activated.
Enabling the LIVE environment is done manually via the fiskaly sales team. Contact sales@fiskaly.com and provide your Organization ID (see “View information” above).
Once LIVE mode has been activated for your organization, a toggle button replaces the “Enable LIVE” button, allowing you to switch between modes. Only units for the respective mode are displayed.
To create new units in LIVE mode, a new API key must be created while in LIVE mode.
Uploading an Organization Logo
Section titled “Uploading an Organization Logo”For better differentiation of individual organizations, you can upload a company/organization logo. Click on the company placeholder logo on the left and select the logo you want.
User Management
Section titled “User Management”Under Settings > User Management you can invite additional users to your organization.
Inviting Users
Section titled “Inviting Users”Click invite button
Click on the “Invite to organization” button.
Enter email address
Enter the email address of the user you want to invite.
If the email address is already stored in the system, the user will simply be informed that they have been added to your organization.
If it is a new user, an account will be created which must be activated by the email owner within 48 hours.
API Keys
Section titled “API Keys”This section is located under Settings > API Keys.
An API key is bound to an organization and the selected mode. This means it only works for one organization. If the API key was created in TEST mode, it can only be used for test entities. A LIVE mode key can only produce LIVE entities.
Here you can manage your API keys, creating and removing them as necessary.
Developers
Section titled “Developers”API documentation and the changelog can be found in the API Reference.
Related Pages
Section titled “Related Pages”Was this page helpful?